This article will show you how to create an exit popup on WordPress using Sumo.
Wait, what?
I thought popups are dead.
You’re right, most people hate popups and they don’t convert nearly as well as they used to. They’re simply annoying and because of that many website owners and marketers have stopped using popups on their website in favour of usability and goodwill. However, not all popups are created equal.
Timed Popups, Entry Popups And Exit Popups
There are many different types of popups and some of them are more annoying than others. And since you’re reading this article, you probably already suspect that exit popups are among the most effective and least annoying forms of popups. Instead of popping up when a visitor is immersed in reading and browsing your website, the popup appears only when a user exits. This means the popup doesn’t interfere with the user’s ability to consume content on your website, which makes it a lot less annoying.
Here’s the bottom line: I recommend you avoid using timed popups that open after a few seconds. Those are the most invasive and annoying popups. Entry popups that open immediately when someone visits your website are also very invasive.
Apart from being annoying, they might also lower your conversion rate because they distract visitors from your primary objective. For example, when someone is about to buy your product you want them to complete that action without interferences. Anything that distracts them from this primary desired action, in this case the sale, can lower your conversions and result in less sales.
The only type of popup I recommend using is exit popups that open when a visitor tries to exit your website. These popups use something called exit intent technology, which means they monitor a visitor’s cursor movements within a browser.
How To Create An Exit Popup On WordPress Using Sumo
Luckily, there are many plugins that do this.
I’ve used OptinMonster and many other plugins in the past but have since switched to Sumo.
From all the different plugins I’ve used Sumo has the most features. Apart from creating exit intent popups, you can also create scroll boxes, inline forms and smart bars. What I personally like most about Sumo is that I pay $24 a month and get access to a whole host of different marketing tools that I can use throughout my WordPress site. There’s also an option to send emails to any subscribers you collect through your Sumo forms. However, I prefer using Mailchimp for all my email marketing.
That being said, here’s how to create an exit popup step-by-step:
Step #1 – Sign Up for Sumo
The good news is that Sumo also has a free plan if you’re just starting out.
So the first step is to head over to Sumo and choose one of the paid plans or get started on the free plan.
I personally use the Professional plan for $24 per month because I prefer having the unbranded version of Sumo along with the additional features of the paid plan. Generating leads is such a valuable part of my business that it’s not necessarily where I want to or should save money. But depending on your situation, this might be different and the free plan might suit you better.
Regardless of your plan, you’ll be asked to create an account:
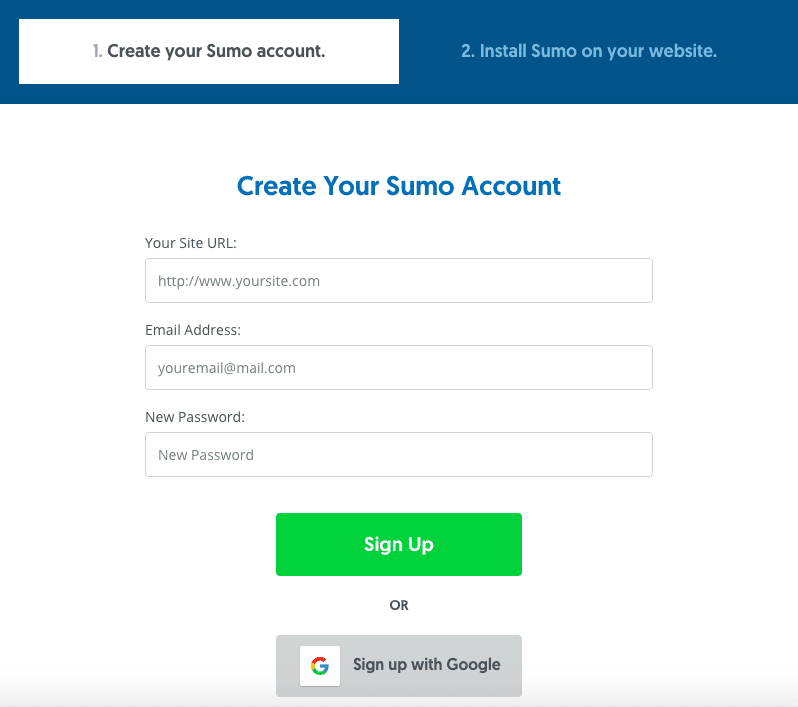
Once you’ve created your account you’ll be redirected to a site with a code and instructions to add Sumo to different platforms.
However, you can ignore that page.
Instead, you want to login to your WordPress dashboard and install the Sumo plugin from there.
Step #2 – Install the Sumo WordPress Plugin
Once you’re logged into your WordPress site, simply navigate to the “Plugins” section.

Click on “Add New” and then search for “Sumo” in the search field on the top left hand side.
This should pull up Sumo.
I’ve already installed the plugin which is why it says “Active” in the screenshot above. In your case, all you have to do is click on “Install Now” and then “Activate” and Sumo will be installed on your WordPress site. Finally, you’ll have to enter your login credentials that you’ve created in step one earlier on. This will hook up WordPress with your Sumo account.
Step #3 – Create A New Form
Once Sumo is installed and you’ve entered your login credentials, it’s time to create your exit popup.
All you have to do is click on “My Apps” and the select “List Builder” from the “Forms” menu. Your dashboard might look slightly different depending on your Sumo plan.

Click on the “Create New Form” button.
This will open the Sumo wizard where you can set up your exit popup.
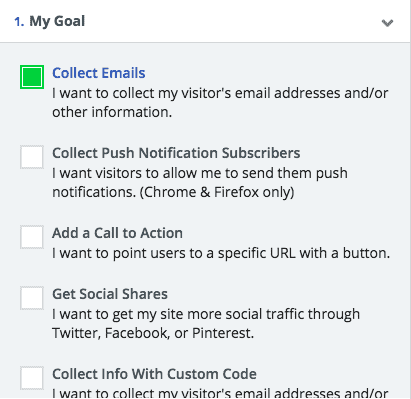
If the purpose of your exit popup is to collect email addresses, check the “Collect Emails” box. If your goal is to redirect people to a different website, choose the “Add a Call to Action” option. You can also get social shares and collect push notification subscribers. But if you’re anything like me, you just want a simple exit popup to collect email addresses.
In the second step you want to select “Popup”.
Later on you’ll be able to to set the popup to open when a visitor exits your website.

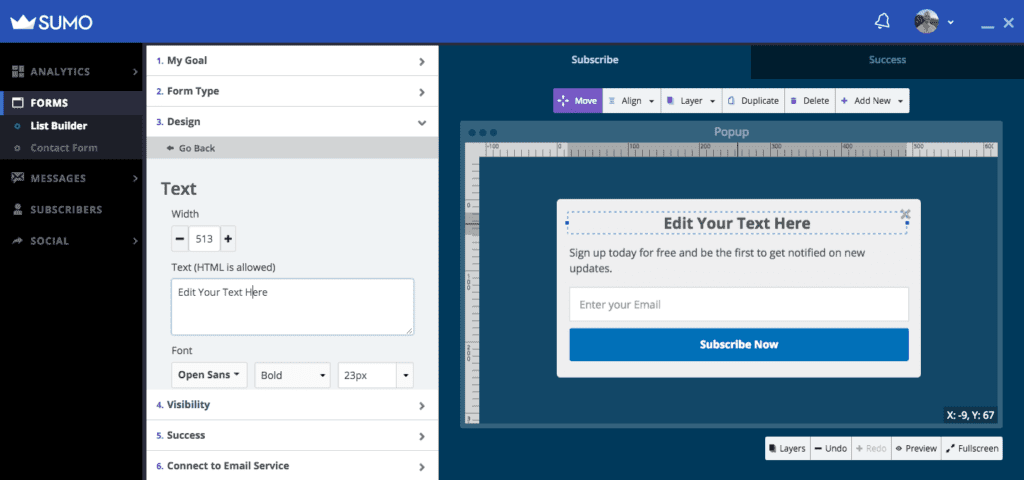
In a next step you’ll be able to customize your exit popup. You can edit the headline and subheading as well as the text of the call to action button. You can also change the colours and other elements of the template which is a powerful branding feature.
Just click on the text area you’d like to edit and a form will open where you can edit the text.
How to create an exit popup?
The next step is the most important one.
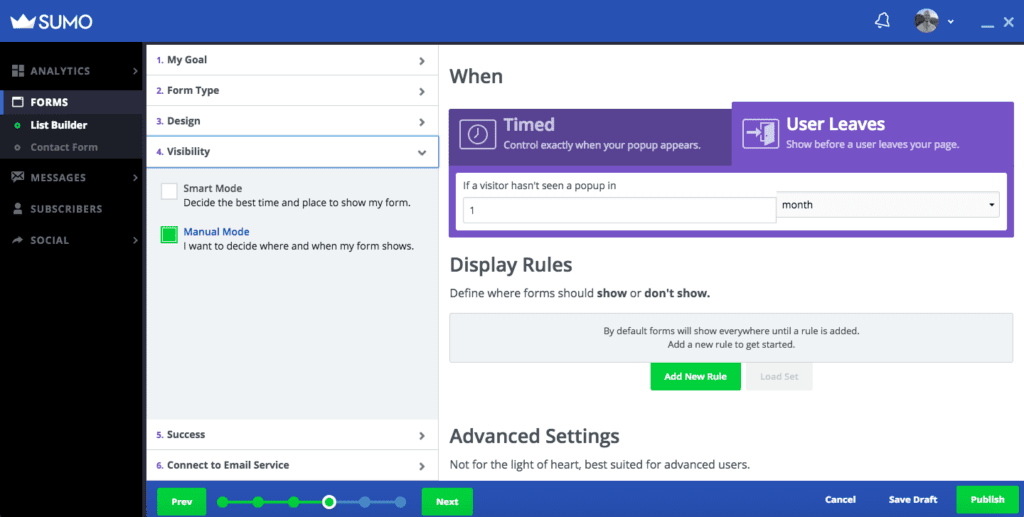
You want to make sure the popup opens when visitors exit your website.
Sumo uses powerful exit intent technology to track your visitors cursor movements and trigger the popup when the cursor exits the browser window. It will also set a cookie to prevent the popup from showing up for a certain amount of time. This is an important feature because you don’t want to put of regular readers and repeat visitors by bombarding them with popups.
By default, the cookie is set to one month.
This means, once a visitor sees the exit popup they won’t see it again for one month.
The final step is to click on “Publish”.
You can then either hook up your Sumo form with an external email provider such as Mailchimp, or you can let Sumo collect email addresses. Later on you can export the emails or send email marketing campaigns directly from within Sumo. Depending on your needs, you may want to upgrade to a paid plan since some features are excluded from the free starter plan.
The end result?
Here’s a recent exit popup I created for this blog.

Obviously I’ve spent a bit more time tweaking the design to match my brand.
But I’m happy with the result.
Did you enjoy this article on how to create an exit popup on WordPress? Drop me a comment and let me know if you’re planning to use Sumo in your own business. I’m also happy to hear your insights about how to create an exit popup using other tools.


Danny
Not sure how the exit intent pop up works on mobile?
I used the sumo one and it seems say you click an internal link the exit pop up happens. So not perfect?
Like to hear your thoughts!